Always refer to your printer's manual for the most accurate instructions.
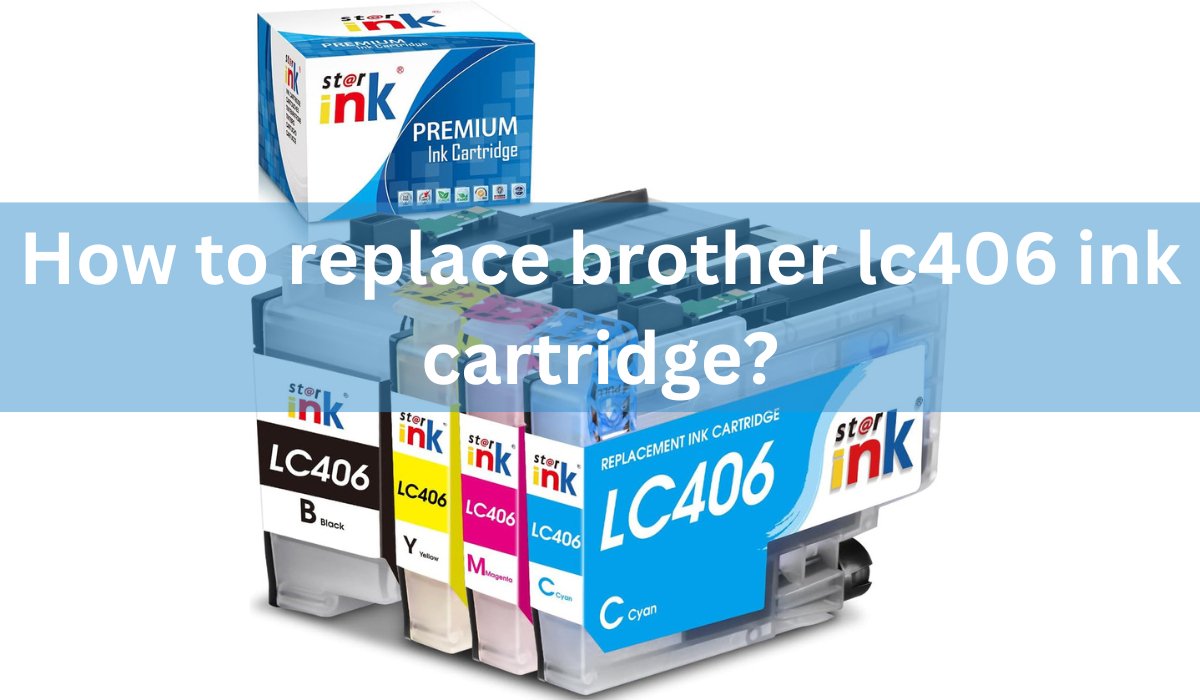
Here's how you might replace compatible LC406 ink cartridges in a Brother inkjet printer:
Materials You'll Need:
Compatible replacement LC406 ink cartridges
Steps:
Power On the Printer:
Ensure your printer is turned on and the control panel is active.
Open the Cartridge Cover:
Gently lift the scanner unit to access the ink cartridge area. The cartridge holder should automatically move to the replacement position. If not, check your printer's manual for guidance.
Identify the Cartridge to Replace:
Look at your printer's display screen. It should indicate which ink cartridges need replacement. Note down the colors that need to be replaced.
Remove the Old Cartridge:
For the indicated color, gently push down on the cartridge's front tab and then pull it towards you to release it from its slot.
Prepare the New Cartridge:
Take the new compatible LC406 ink cartridge out of its packaging. Give it a gentle shake to evenly distribute the ink inside.
Install the New Cartridge:
Hold the new cartridge by its sides and insert it into the correct slot. Push it in until you feel or hear a click, which indicates that the cartridge is securely in place.
Close the Cartridge Cover:
Lower the scanner unit back down, making sure it clicks into place. The printer will likely go through an initialization process.
Check the Display Screen:
The printer's display should confirm that the new cartridge has been recognized without any errors.
Print a Test Page:
Print a test page to ensure that the new cartridge is working as expected. This will help you verify the print quality.
Remember that these steps are general guidelines. Your printer's manual will have the specific instructions tailored to your model, and it's important to follow those instructions for the best results.
How to replace brother lc406 ink cartridge?
Tags: Cartridge guide








1 comment
RICH LATESSA
Prior to changing the ink cartridge, the black lines on my printer were missing.
Now after installing new ink cartridge my black is very faint..
what is my next step?
thank you,